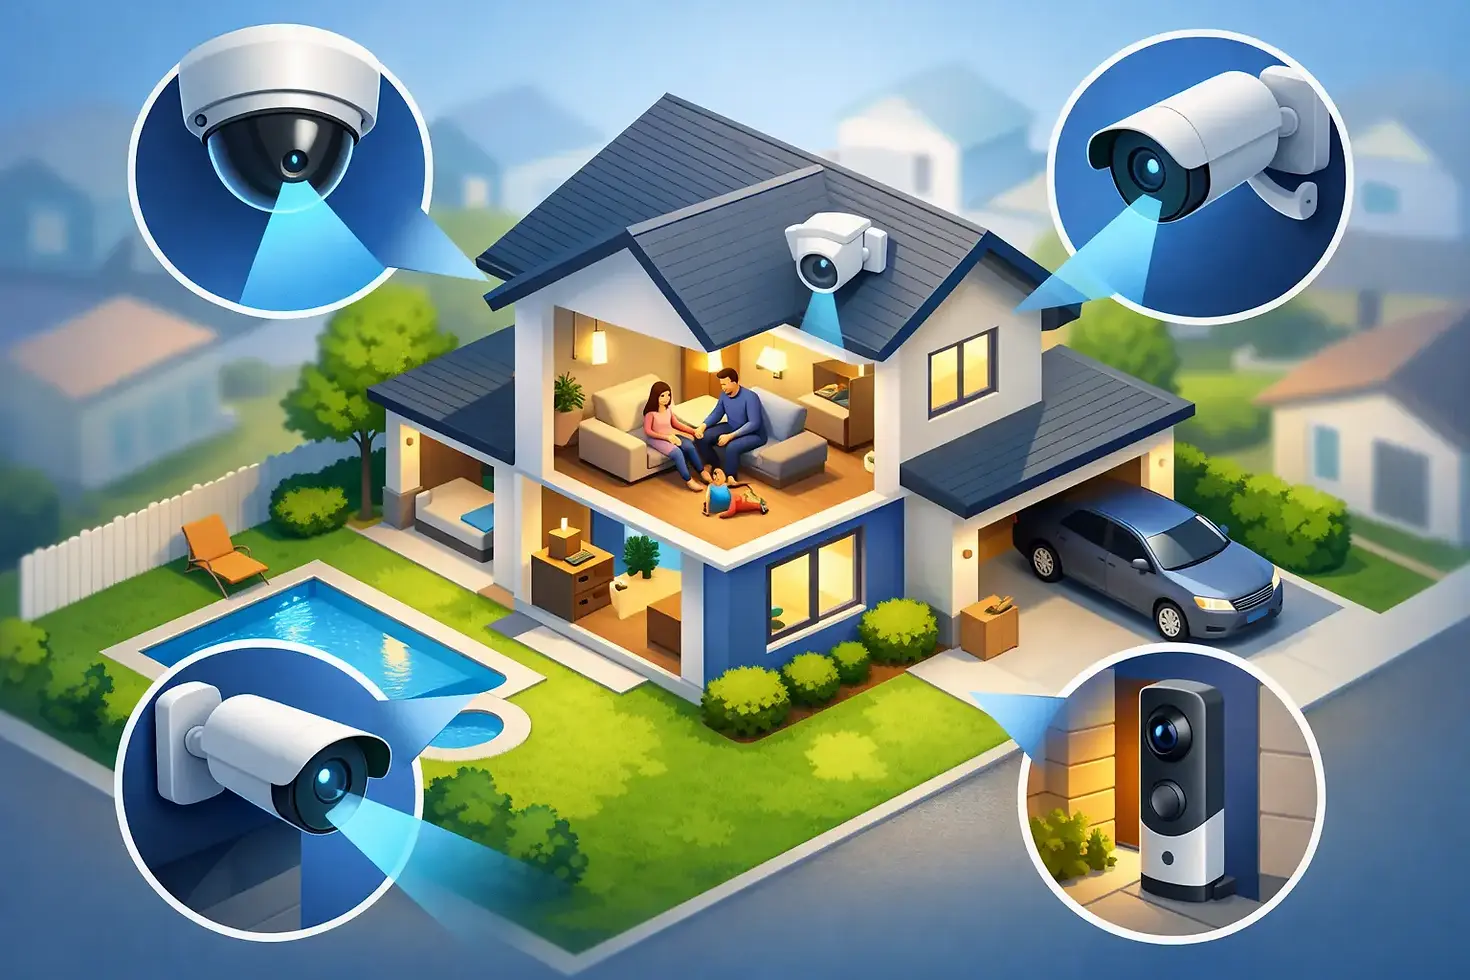
Security Camera Placement That Covers What Matters

A camera pointed at the wrong angle is not security. It is just footage of a wall, a ceiling, or the back of someone leaving the site. Effective security camera placement starts with the areas where people, vehicles and valuable assets actually move - then accounts for lighting, access points, privacy and the quality of footage needed if an incident occurs.
For a home, shop, warehouse or managed property, the goal is not to cover every square metre with cameras. The goal is to create useful coverage that helps prevent incidents, supports a fast response and provides clear evidence when it is needed.
Start With the Site Risks
Walk the property before choosing camera locations. Think about how an intruder, trespasser, customer, contractor or delivery driver enters and moves through the site. A layout that works for a suburban home will not suit a retail tenancy, industrial yard or strata complex.
Start with the obvious entry and exit points: front doors, rear doors, side gates, roller doors, loading docks and vehicle access points. These are the highest-value positions because they capture faces, clothing, direction of travel and, where required, vehicle details.
Then look at what happens outside normal operating hours. Is there a dark side passage? A rear bin area with limited visibility? A car park where staff finish late? A storage cage, tool area or plant room that is not regularly checked? These locations often create bigger risk than the main entrance.
For commercial sites, a simple risk map is useful. Mark public areas, staff-only areas, high-value stock, cash handling points, access-controlled doors and isolated exterior zones. This keeps the camera plan focused on real exposure rather than adding equipment without a clear purpose.
Security Camera Placement at Entrances and Exits
Entrances are the priority because they provide the best opportunity to identify a person. Position cameras to capture a face as someone approaches or passes through a doorway. A camera mounted too high can show the top of a cap or hood rather than a usable facial image.
Aim for a practical height that discourages tampering while maintaining a clear view of faces. The exact mounting point depends on the lens, field of view and distance from the subject. A wide-angle camera may cover an entire porch or lobby, but it can make faces appear too small when a person is further away. A narrower view near a key doorway can deliver better identification.
At homes, cover the front door, driveway and any side or rear access that cannot be seen from inside. A visible front camera can deter opportunistic behaviour, while coverage at side gates and rear doors addresses less obvious entry routes.
At businesses, do not rely on one camera above the main door. Use coverage that records people entering, leaving and moving through the immediate area. Consider a separate view of the counter, reception desk or access-control point if staff need to verify who has entered the building.
Cover Vehicles, Car Parks and Perimeters
Vehicle access is a common weak point. Place cameras at driveways, gates and boom gates so they capture the direction of travel and the vehicle itself. Number plates are harder to record than most people expect, particularly at night, in rain or when vehicles are moving. A broad overview camera may show an incident but not provide a readable plate.
Where plate capture matters, the camera position, lens and lighting need to be planned for that specific task. The camera must have the right angle and distance, with minimal glare from headlights. This is one area where a site assessment is worth the time, especially for industrial yards, depots and shared commercial car parks.
Perimeter cameras should cover likely approach routes, including gates, fence lines, laneways and side access. Avoid placing every camera at the same corner of the building. Overlapping views from different positions reduce blind spots and can show where someone came from and where they went.
Do Not Ignore Lighting and Weather
A camera can perform well during the day and fail after sunset. Before finalising any position, check the area in daytime, at night and when exterior lights are on. Bright light behind a subject can turn a face into a silhouette. Headlights, reflective signage and security lights can also cause glare that reduces detail.
Infrared night vision helps in dark areas, but it has limits. Reflective surfaces, close walls, glass and cobwebs can bounce infrared light back towards the lens. The result can be washed-out footage or a bright blur directly in front of the camera.
Where practical, use suitable exterior lighting to support camera coverage. It improves image detail and makes the area less attractive to intruders. Lighting should be aimed carefully so it assists the camera rather than shining directly into it.
Outdoor cameras also need protection from rain, heat, dust and direct sun. Position them under eaves where possible, without blocking the view. In exposed areas, use equipment rated for the conditions and secure cabling so it cannot be easily cut, pulled loose or damaged.
Balance Wide Views With Detail Views
A common mistake is choosing one wide shot to cover an entire yard, showroom or car park. Wide coverage is useful for tracking movement and understanding what happened. It is not always enough for identifying a person or reading details from a distance.
A well-planned system usually combines overview cameras with targeted cameras. An overview camera may watch the full loading area, while a second camera captures the roller door and the personnel door. In a retail setting, one camera may cover the shop floor while another provides a close view of the point of sale and entry.
This approach gives you context and detail. It also prevents false confidence in footage that looks fine on a mobile screen but cannot identify a person when reviewed properly.
Check the angle before drilling
Test the view before permanent installation. Hold or temporarily mount the camera at the planned location and check the live image from the recorder or app. Walk through the area as a person would. Check whether faces are visible, whether shelving blocks the view, and whether a vehicle obstructs the camera when parked in its usual spot.
This simple step can prevent costly rework. It is much easier to move a proposed camera position than to patch holes, rerun cable and reinstall equipment after the fact.
Keep Private Areas Private
Security cameras should protect a property without unnecessarily recording private spaces. Avoid aiming cameras into neighbouring homes, private yards, bathrooms, change rooms or other areas where people have a reasonable expectation of privacy.
For landlords, strata managers and commercial operators, be especially careful with shared spaces. Cameras may be appropriate at building entrances, car parks, corridors, bins and common access areas. They should not be used to monitor private living areas or sensitive staff spaces.
Audio recording can raise additional privacy issues. If sound is not required for the security outcome, it may be better to disable it. Clear signage can also help visitors, customers and contractors understand that surveillance is in use. Requirements can vary by state, property type and the way footage is collected or used, so obtain advice where there is uncertainty.
Plan for Reliable Footage, Not Just Camera Locations
Placement is only one part of the job. A camera needs stable power, secure connections, enough recording storage and a system that can be checked when something goes wrong. Poor Wi-Fi coverage, overloaded storage or an incorrectly set recording mode can leave major gaps even when the camera is positioned well.
Decide how long footage needs to be retained and whether cameras should record continuously, on motion or at set times. Motion recording can save storage, but it needs careful setup. If sensitivity is too high, trees, insects and passing traffic create constant alerts. If it is too low, a person may not trigger recording soon enough.
For larger sites, sensible camera naming and a clear site plan make footage easier to find. Names such as “Rear Roller Door” and “North Car Park Entry” are more useful than generic labels. Facility managers should also schedule periodic checks for dirty lenses, damaged mounts, poor image quality and cameras that have gone offline.
Get the Placement Right Before the Incident
The best time to review camera coverage is before there is a break-in, damage claim or workplace incident. Walk the site, test the angles at different times of day and focus the system on the places that matter most. Good camera coverage supports safer operations, clearer incident reporting and fewer blind spots across the property.
Xtreme Maintenance can assess site risks and install practical camera coverage suited to homes, businesses and commercial properties. The right placement gives your system a job to do - and gives you useful footage when it counts.


Comments